Showing posts with label RI. Show all posts

Friday, 13 June 2014

The Chemistry of Colours

When I think of colour, I often think of it being a physics topic, as in, the light spectrum.  I had never thought about it in terms of chemistry, until Tiger attended the Spectacular Colour Chemistry workshop at The Royal Institution.


A lot of learning was covered in the workshop so I will try to recapture some of the most salient learning points for us.  The biggest learning point, for me personally, is to start thinking about how our perception of colour depends not only on how light is reflected (everyone knows that, obviously)...


but also how changes in chemical bonding and electrons in specific atoms can result in differences in colours, as perceived by the human eye.


This requires knowing more about the elements and of the periodic table (i.e. atomic mass and charge) so I can't speak any more knowledgeably about it than in very generic terms.


It appears that we need to know the fundamentals about the periodic table after all -- mental note to myself to cover the elements at some point.


I almost broke out in cold sweat in a corner of the room when the instructor started talking about atomic structure and neutralising charges via chemical bonding.


Luckily Tiger was able to hold his own in the class by answering correctly a question thrown at him out of the blue.  The question was to show how a helium atom can be neutralised by altering its mass and charge.  I don't know how he did it, but maybe his reading very widely has something to do with it.  Besides, the question essentially is more mathematical than scientific, so perhaps the mathematical nature of the question helped.


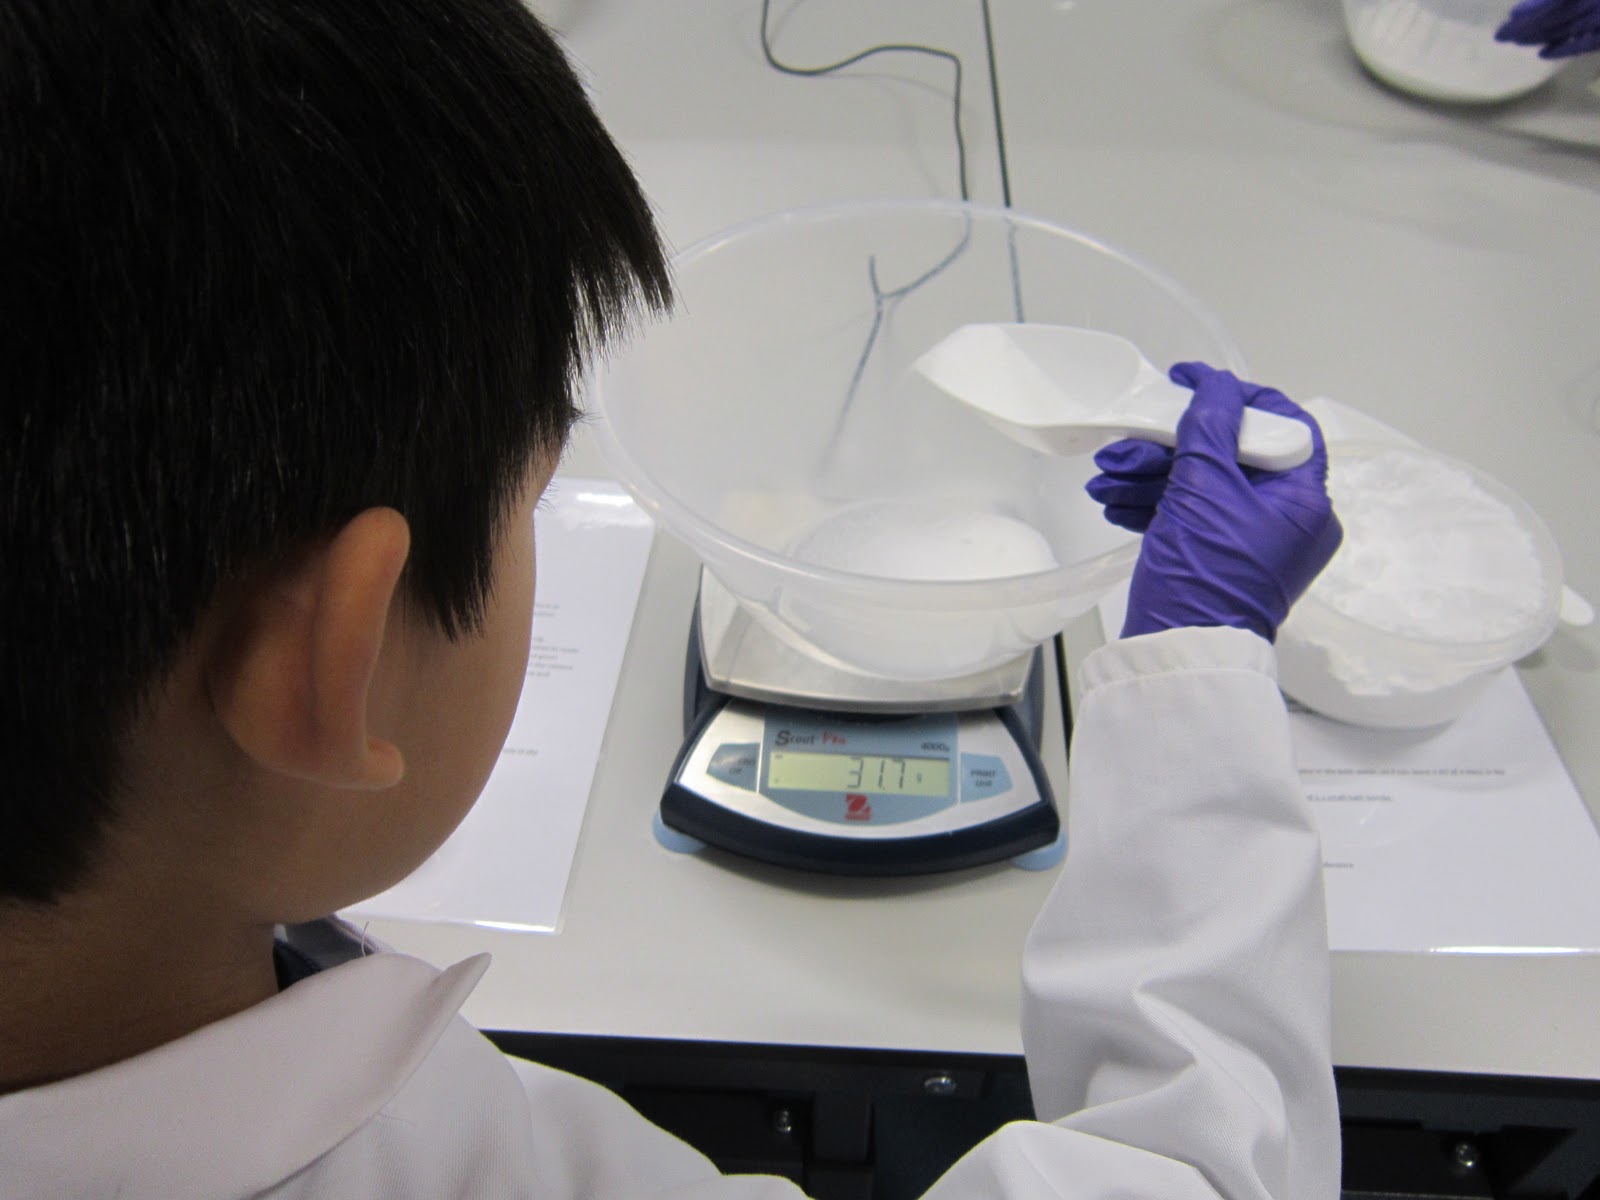
Anyhow, he earned his right to remain in the class.  The rest of the time was pretty easygoing.  Quite a bit of time was spent discussing about the differences between natural and synthetic dyes, followed by some hands-on activities to create natural dye from pomengranates.


The value of being in a dedicated science lab (as opposed to our kitchen lab) is obvious when the children got to create synthetic dye.  It would have been very difficult for me to get hold of the chemicals required to replicate the process at home.


Funnily enough, Tiger was just asking me how food colouring, i.e. synthetic dyes, are made.  He now knows the answer, thanks to this workshop.


Saturday, 7 June 2014

What a State!

Following our recent interest in chemistry, lectures and workshops related to chemistry suddenly seem very relevant so we signed up for a whole bunch of them.

The first workshop was a short one devoted to explaining the states of matter to upper elementary-grade children.  The workshop leader explained about the differences between a physical and a chemical change and whether the reactions involved are reversible.


There were a few demonstrations on how different states occur but the coolest one was when he froze a fresh banana rock solid using liquid nitrogen.  At the end of the workshop, he poured what was left of the liquid nitrogen out onto the floor, which promptly turned into gas.


We also attended a number of chemistry-related lectures at The Royal Institution.


Lectures at the RI are always very accessible and interesting.  Of course, it helps when the demonstrations involve loud noises and explosive visuals.


The content of one of the lectures that we attended is very similar to the one shown below:


We also decided that, instead of just watching other people having fun with the experiments, we ought to try some safe-to-do-at-home ones ourselves by consulting the following books:


We made some sugar crystals by suspending a piece of cotton rope into a glass of water saturated with dissolved sugar for 24 hours;


Tiger marveled at the work of air pressure to hold the thin piece of card up under the weight of water in the jar;


and fishing ice out of water using a piece of string (and a little salt to melt the ice).


In the clip below, you can see the ice being suspended above the water by the piece of string on one side.  That's pretty cool.


To my surprise, the activity that really captured Tiger's interest involved him drawing a road map for his 'magnetic' cars (car shapes cut from paper with a paper clip attached to the back) to move around.


We attached a small, round magnet onto a ruler, then off the paper vehicles went.  Of course, one of the vehicles has got to be a tank.


I, on the other hand, was found the raisin-in-soda trick mesmerizing.


I call it 'the poor man's lava lamp'.  I literally sat at the table and watched the raisins go up and down the jar for more about 20 minutes until all the fizz was gone.  I reckon it would be a very good trick to keep a three-year-old occupied long enough for mum to have a cup of tea in peace.  I wish I had known this trick when Tiger was three years old!


While we were in the fizzy drinks isle, Tiger asked to pick up an extra bottle of diet soda to do the soda foundation experiment that we had done a few years ago.  Well, one can't say no to this simple request!  This time, we also looked into the science behind the experiment.


This post is linked up to:
  1. Hip Homeschool Hop - 6/3/14
  2. The Home Education Weekly Link Up
  3. Weekly Wrap-up: The One Before Date Week
  4. The Homeschool Mother's Journal (6/7/14)
  5. Science Sunday - How to Make a Brain Cell Model

Saturday, 5 May 2012

Geometry: 2D and 3D

We have been "playing" with 2D shapes on paper through our regular maths programme at home, learning to draw them with technical tools such as the 30-60 triangle and T-square.


What makes these geometry lessons interesting is that the programme goes a few steps further by asking the student to do one or more of the following:
1) identify the different shapes that are "hidden" in the main constructed shape;
2) cut and fold it into another shape; and
3) cut the main shape into smaller shapes to create other shapes.


Once every few weeks we take a day out of our regular math lessons to practise a related concept using another source of maths.  This is to get Tiger used to applying the maths concepts he has learned from our regular lessons to other types of maths problems.  The latest maths games we have played with are:
1) Hidden Polygons - an introduction to the different properties of polygons

2) Butterfly - a game that is similar to the Chinese Checkers


3) Lines of Symmetry - where some shapes can be a little tricky to think of how many symmetrical lines are possible.


Besides doing regular maths at home, we also participate in external lectures and masterclasses whenever they become available.  One of these has been an investigative class on Platonic Solids.


With the notes generously provided by the institution, one can easily teach the concept at home.  However, we have found much benefit in attending the class with other (older) homeschooled children in terms of:
1) learning how to work effectively as a team with other children;
2) making friends and contacts for future projects;
3) sharing resources and ideas;
4) learning from the strengths of other children and parents.

Although we tend to do most of our learning by ourselves at home, we are always keen to embrace opportunities to work with and learn from other homeschoolers.  It has been especially beneficial for Tiger to realise that other children can be just as quick as, if not quicker than, he is in mathematics.  It is not easy to learn about humility in isolation. 


This post is linked up to several blog hops, where you can see what other homeschoolers have been busy with.  It is also linked to the Math Teachers at Play blog carnival #50.

Friday, 27 January 2012

How many ways to classify?

After using puppets in our previous science session at home, we continued with more cementing of how classification can be done.

Tiger attended a hands-on lecture on taxonomy where he learnt about the complexities of taxonomy in simplified concepts.  The lecturer presented the session in a very hands-on way by having the children put on different types of hats, and to learn about how classification works by using hats as a proxy to the different ways that things can be grouped together.


Back home, we did another quick visual revision of classification with a few home-made cards and lollisticks:


Once the general visual (above) was laid out, I used a piece of yarn to highlight the area (vertebrate) that we will be spending more time on from now.


Using puppets in our previous science session gave us the idea to make more use of the toys Tiger has at home. We gathered all the cuddly toys and puppets into a corner to be sorted out.  It turned out that all the toys in the house happen to be vertebrate!


The classification exercise gave us many opportunities to discuss the various characteristics of each type of vertebrate.  It caused Tiger to consider carefully what makes a bird, a reptile, an amphibian, a mammal, and a fish, so that he could put each toy in the correct category.


Tiger did not have much problems with the exercise apart from hedgehog, which succeded to confuse him into thinking of it first as an invertebrate (Tiger thought the hedgehog has no backbone because it can curl into a ball), then as a reptile (I can't remember how or why this particular confusion had happened).  After a few minutes of questions that led him to discover the 'errors of his ways', Tiger realised for himself where the hedgehog should go -- with the mammals.


The lesson concluded with us looking for items around the house that had come from animals.  The food stuff was very obvious, but some of the non-food items offered new learnings for Tiger.

Food from animals
Non-food items from animals

This post is linked up to several blog hops, where you can visit to see what other homeschoolers have been busy with.  It has also been linked to the Homeschool Showcase #92.

Friday, 13 January 2012

Cosmetic Chemistry

This week Tiger has been fortunate to experience life in a science laboratory setting by attending a chemistry workshop which was a good follow up to our soap-making experience last summer.

At the start of the session, the children put on lab coats, wore safety glasses, and were given instructions about lab safety.  After a brief introduction about the goals of the workshop, the children set to work to:
1) test the pH of various liquids: water, lemon juice, sodium hydroxide; and
2) witness the effects of neutralisation by adding varying amounts of liquid to one another.


Once the basics of acids and alkali were understood, the children proceeded to the highlights of the day: making the cosmestics.  First was the bath bomb.


Luckily Tiger has always been actively helping me in the kitchen, so measuring and mixing the various ingredients needed to make the bath bombs were easy steps for him.  Here is a very similar bath bomb recipe, for those who want to try this at home.


Making the lip balm was a similar process of measuring and mixing, except that the ingredients to make lip balm were all liquids.  I found a lip balm recipe here that is nearly identical to that which was used in the lab.


After a while, both products were ready to be collected:


Tiger was very excited about the experiments, especially when he saw that they resulted in products that can be applied in real life.

This post is linked up to several blog hops, where you can visit to see what other homeschoolers have been busy with.  It is also linked to the If I had a Million Dollars edition of Carnival of Homeschooling.

Related Posts Plugin for WordPress, Blogger...